How to do a Throbber without trouble
In today's article we will show you how to animate a basic loader that spins when some predefined action is defined, such as loading an image. That can be used on a website for example when there is a request running and the result is not yet retrieved.
What are they?
Loading animation, Loader, Spinner, Throbber, they go by many names, sometimes misleading because they do not always spin. Throbbers are actually the official name for them. Whatever they are called, they are supposed to do all the same - show an image in a program's interface which animates to show that the software is busy.
![]()
This means the system is performing an action in the background, launching an application, processing requests, downloading content, conducting intensive calculations or communicating with an external device. The user is thus able to see that he/she needs to wait until the process is finished.
Such a thing is many times needed also in text user interfaces, where there is no animation possible so its replaced by a fixed-width character which is cycled between “|”, “/”, “-” and “” forms in order to create an animation effect.
Spinner is something different than progress bar, because it doesn't show how much of the action has been completed. Unless there is for example added percentage numerics.
There are many iconic throbbers like Windows wait cursor in the form of hourglass and surely you recognize this typical throbber animation, as seen on many websites.

Using a CSS animation has an advantage that we are avoiding image request (.gif for example), that means the loader would be shown even if the system or transfer is slow or halted. That is how developers came to use pure CSS over GIF animations which were used a long time ago in web development.

Well enough of the theories, it's time to make our own simple throbber/spinner/loader.
Step by step
We would use codepen.io to show the building process, a great tool where you can quickly try some pieces of code. Our spinner is going to be a simple circle spinning around its own centre.
First thing to do is create a single div element where the spinner would be shown. To target it in CSS it would have the class name “loader”.
<div class="loader"></div>
Next we add CSS code:
.loader {
  width: 30px;
  height: 30px;
  background-color:grey;
  border: 30px solid #f3f3f3;
  margin:10% auto;
}
As we can see in this picture, it's just a simple square with borders set to it.
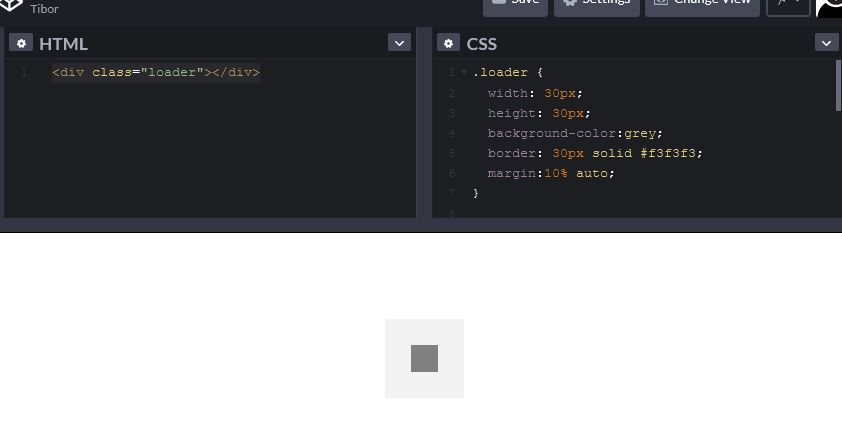
Now we make it circular by adding border-radius:50% and we give color to the left border.
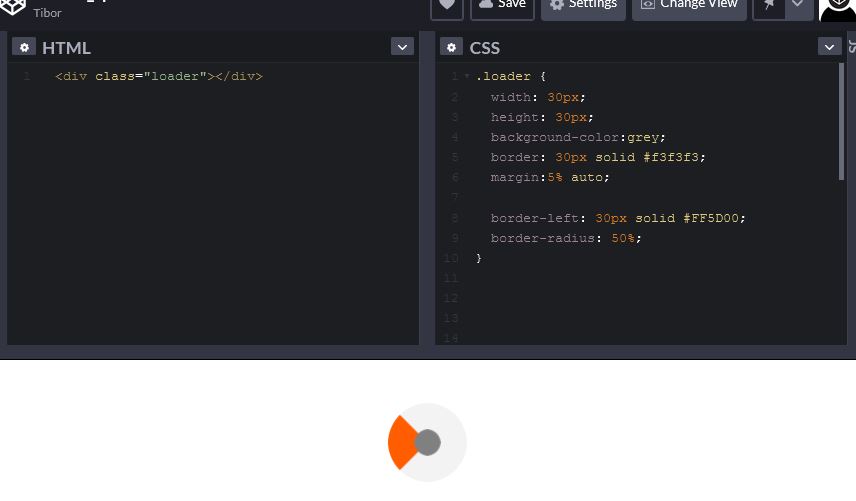
Now spin it!
At last, we add an animation to the loader class that makes the circle spin forever with a 0.8 second animation speed. In the property animation we need to write the name of the animation which will be defined in keyframes - in this case it's “spinIT”, time to complete animation in seconds, blend mode will be linear and it will be running continuously by the last attribute called infinite.
Additionally we decorate it with a bit of shadow.
Here is the complete code:
 .loader {
  width: 30px;
  height: 30px;
  border: 30px solid #f3f3f3;
  margin:5% auto;
  border-left: 30px solid #FF5D00;
  border-right: 30px solid #FF5D00;
  border-radius: 50%;
  animation: spinIT 0.8s linear infinite;
  filter: drop-shadow(0px 0px 8px gray)
}
@keyframes spinIT {
  0% { transform: rotate(0deg); }
  100% { transform: rotate(360deg); }
}
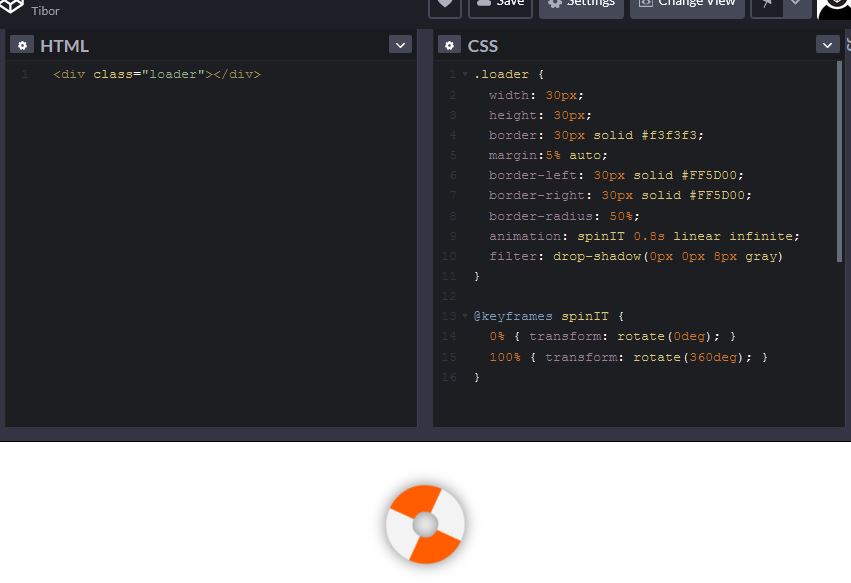
For those browsers that do not support animation and transformation properties we should add this part of code.
@-webkit-keyframes spinIT {
  0% { -webkit-transform: rotate(0deg); }
  100% { -webkit-transform: rotate(360deg); }
}
Keep it simple
Now all of this above would only serve for designing the spinner, but for actually implementing it we need a content that its loading time is actually greater than a few milliseconds. This can be done by loading big pictures or files.
We used larger sized images, taken from placeimg.com - so called lorem ipsum of images. With this approach we can prevent also caching of the data so we can simulate better the loading time.
<body>
  <div class="image">
    <img src="https://placeimg.com/800/600/any">
<!--     <div class="loader"></div>    -->
  </div>
</body>
Added CSS:
body{
  display:flex;
  justify-content:center;
  align-items:center;
}
.image{
  width:50vw;
  height:100vw;
  border:solid black;
  overflow:hidden;
}
This is how it looks without a spinner.
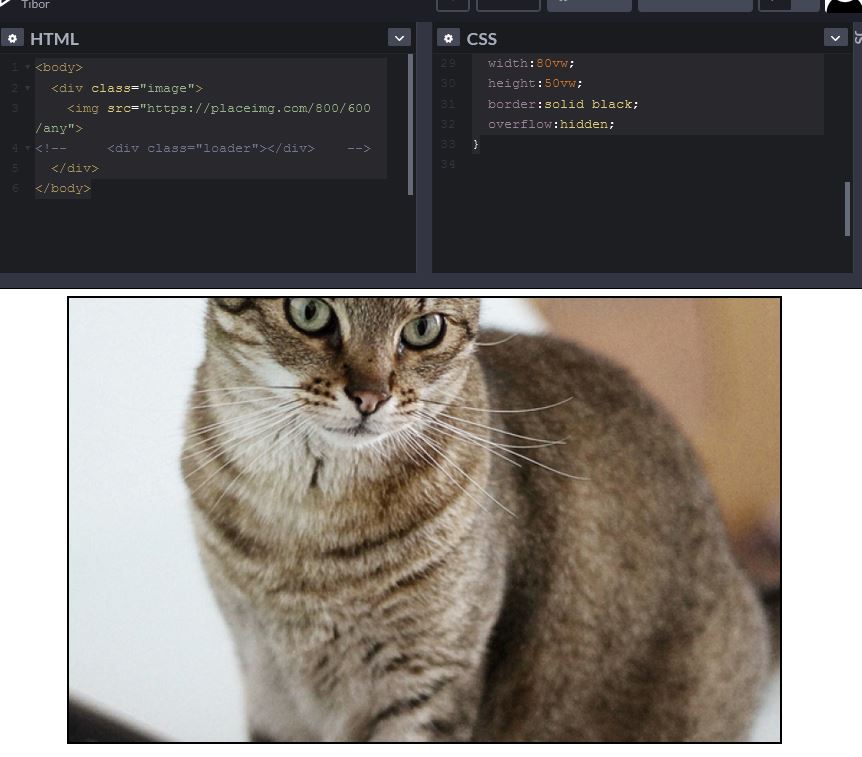
Now we want to do that spinner in the place of image until it loads. We place the spinner inside the container with the image and set it center with CSS.
<body>
  <div class="image">
<img src="https://placeimg.com/800/600/any">
<div class="loader"></div>
  </div>
</body>
CSS:
.image{
  width:500vw;
  height:100vw;
  border:solid black;
  overflow:hidden;
  display:flex;
  align-items:center;
  justify-items:center;
}
Now we prepare the rest of the code, by adding id=”img” to the element img, because what we are going to do is to have an image container not displayed until it's loaded into memory.
<img src="https://placeimg.com/800/600/any" id="img" class="hidden animated">
In CSS file it would be as follows:
.hidden{
  display:none;
}
.animated{
  animation: animate 3s;
}
@keyframes animate{
  from{opacity:0 }
  to{opacity:1 }
}
Now we are set to JavaScript in the next section.
JavaScript the s..t out of it!
For the JS, we add a simple event listener to hide the loader when the image is completely loaded.
The last part is to add code so we access the elements we're going to manipulate.
First we add an event listener to the window, which would start the autoexecutable function on load of the content.
Make no mistake, an external js file or <script> should be placed behind all the HTML code so the text content would be loaded first - in this time is the spinner visible. Once JS code is loaded, it will run the code inside the eventlistener.
window.addEventListener("load", function(){
document.getElementById("loaderSpinner").style.display = "none";
document.getElementById("img").classList.remove('hidden');
document.getElementById("img").style.display = "block";
});
In the second row we can see how to stop the loader, once the image itself would load.
And we remove class “hidden” from the image, so it would be visible.
See the Pen Loader_spinner by Tibor (@TiborKopca) on CodePen.
Complete code to be seen here:https://codepen.io/TiborKopca/pen/NWbKeLG.
Loading images with the Fetch API
When it comes to JavaScript integration, we can showcase it on the Fetch API of one of our coworkers, Iveta Karailievova, check out her articles here> https://www.ma-no.org/en/search/?q=Iveta, she wrote recently how to use it.
This API basically obtains resources, in this case an image from the URL.
We altered the code a bit to implement timeout to the event listener, this allows us to postpone the time of the function execution so we can enjoy the spinner better.
The forked code can be seen here > https://codepen.io/TiborKopca/pen/zYoOjQW
Conclusion
There are many ways to go when you are about to make a custom spinner, for example using CSS pseudoelements. We showed you the basic one, but depends only on your imagination how you make it at the end. Here are some possibilities for inspiration to see what can be done.
https://freefrontend.com/css-loaders/
https://tobiasahlin.com/spinkit/
https://dribbble.com/tags/throbber
Hope we showed you how it can be quite easily created some custom CSS throbble for your website to be even more attractive for everybody.
Image by Tibor Kopca.


