Today we will show you how to use BootstrapVue, describe the installation process and show basic functionality.
The project’s based on the world's most popular CSS framework - Bootstrap, for building responsive mobile-first landing page and combines it with Vue.js.
Bootstrap-Vue does not yet support Vue 3. So if you want to use Bootstrap-Vue you will have to stick with Vue 2 for now.
Let's get started.
So What is it?
Basically it's Bootstrap addon for Vue which provides benefits of both popular CSS framework Bootstrap providing looks and UI elements with another popular front-end framework Vue.js for building single page apps. With Bootstrap-Vue we would have to our disposition components, directives and also icon and theme set. Current version of Bootstrap-Vue is 2.21.2 (released 01-01-2021). It even has a ‘playground’ where you can write your test code and play with different features in a codepen like environment.
To use BootstrapVue, we import the widgets into our Vue app and reference the BootstrapVue components in our templates.
Bootstrap is now in version 4, but version 5 stable is soon to be released, read more about it in our recent article.
What do we need to work with Bootstrap-Vue
Prerequisites - what we will be working with in this article. We assume you are a bit familiar with Bootstrap and knowledge of JS of course as Vue.js is a Javascript framework.
We will be working with these, for instance Popper can be installed separately if needed.
- Vue.js v2.6 is required, v2.6.12 is recommended
- Bootstrap v4.3.1 is required, v4.5.3 is recommended
- Popper.js v1.16 is required for dropdowns (and components based on dropdown), tooltips, and popovers. v1.16.1 is recommended
- PortalVue v2.1 is required by Toasts, v2.1.7 is recommended
- BootstrapVue does not depend on jQuery
Node Package Manager
We will use an npm tool/installer/package manager that comes also with Node.JS for install purposes. Npm is the recommended installation method when building large scale applications with Vue. To check if you have it installed, type the $ node -v on the terminal, this should show you the version installed.
Creating the App with Vue CLI 3
Let's start with building an App. Single page applications have a lot of advantages and by using the CLI version we will be able to use modern JS features which are not natively supported in browsers, it provides a live-reload dev server and it also minimizes our production code. Vue CLI is basically a full system for rapid Vue.js development.
Also we recommend installing it globally on your computer so you can use it in any Vue project in any folder.
The reason why we will use Vue version 2 is because BootstrapVue isn't compatible with Vue 3 yet.
1. Install Vue CLI 3
First we make sure we install Vue CLI globally, and we’ll get the latest version:
$npm install -g @vue/cli
Your should see something similar to this:
+ @vue/[email protected]
Or we can check for the version by running this command (note: it has double ‘-’ ) :
$vue --version
2. Initialize the project
Thanks to the previously installed CLI package we can utilize vue commands.
So to create application-basically to initialize the project we have two options:
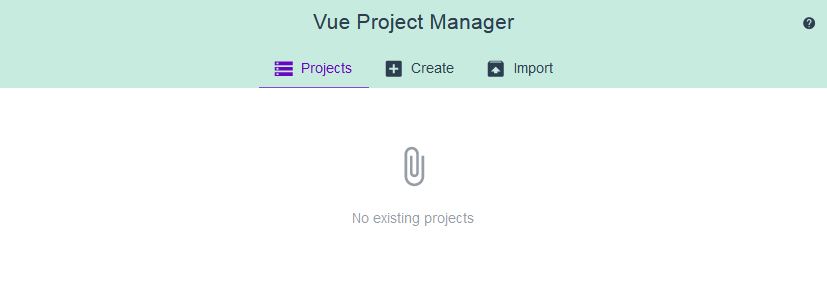
- via a graphic UI - which opens a graphical interface on your browser and there you can select what do you want with your project, install plugins, vuex, import project etc. We will use the other option.
- via a terminal - this option we will choose in this article.
So now we are able to configure our app, were naming it for instance ‘testapp’,:
$ vue create testapp
If we see ‘bash: vue: command not found’ ,that means that we need to install Vue first.
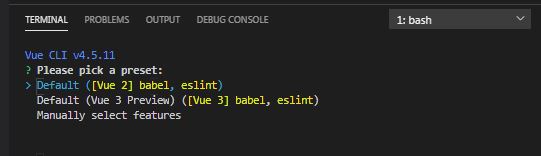
This will ask us set of questions, we selected in “Manually select features”
- Choose Vue version
- Babel
- Router
- Linter/Formatter
On the next screen select Vue version 2.x, history mode for router : yes and EsLint + Prettier, Lint on save, dedicated config files and save preset :no.
This will create the project directory and inside it the file structure of the project for us.
Get inside the project directory by:
$cd testapp
To run development server, type the next command, it will enable opening our project in a browser to see live changes we make, it will refresh the page with every change to code.
$npm run serve
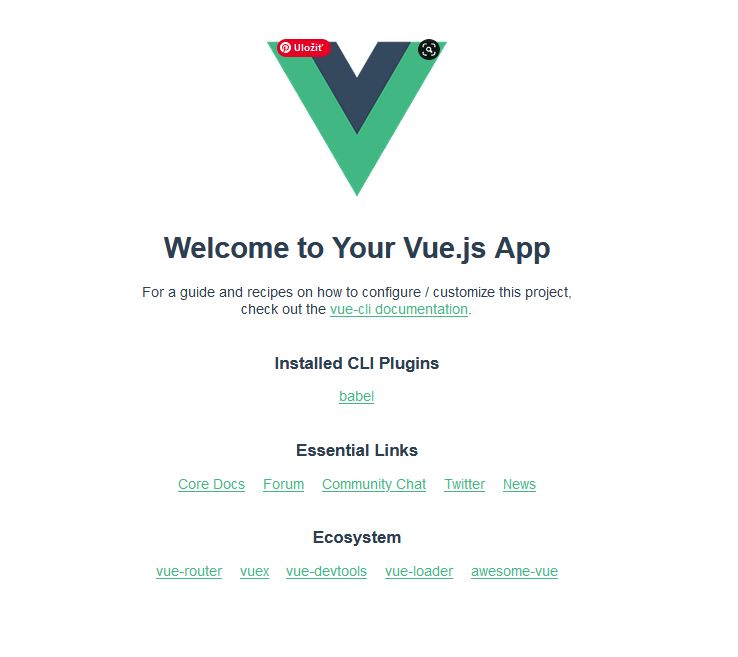
We should get a message that ‘App running at - Local: http://localhost:8080/.
Now we can open the browser on the address provided by the vue application and see the vue project is running.
3. Install Bootstrap-Vue and Bootstrap
With CTRL+C stop the server.
Since we want to use Bootstrap-vue it's time to install it, to do this, inside your project directory run:
$npm install bootstrap-vue
This should install Bootstrap too, but we can check if we have it by executing:
$npm install bootstrap
(Note1: Alternatively, if you're already are running some project and you would like to install BootstrapVue into it, you would use next command, there will be also question if we want to use babel/polyfill :
$vue add bootstrap-vue .)
(Note2: commands can be stacked like this and this will install all the packages in the command
$npm install vue bootstrap bootstrap-vue)
We should see similar result:
npm WARN deprecated [email protected]: You can find the new Popper v2 at @popperjs/core, this package is dedicated to the legacy v1
+ [email protected]
+ [email protected]
We can look inside the package.json for all installed dependencies:
"dependencies": {
    "bootstrap": "^4.6.0",
    "bootstrap-vue": "^2.21.2",
    "core-js": "^3.6.5",
    "vue": "^2.6.11",
    "vue-router": "^3.2.0"
  },
4. Register BootstrapVue
Then, after installing Bootstrap-Vue we need to register it in your app entry point - so we navigate into src/main.js and we need to import these lines, add them before the last line with ‘new Vue()’ :
import Vue from "vue";
import App from "./App.vue";
import router from "./router";
Vue.config.productionTip = false;

/*--------------------REGISTER BOOTSTRAP---------------------------------*/
import { BootstrapVue, IconsPlugin } from "bootstrap-vue";
// Import Bootstrap an BootstrapVue CSS files (order is important)
import "bootstrap/dist/css/bootstrap.css";
import "bootstrap-vue/dist/bootstrap-vue.css";
// Make BootstrapVue available throughout your project
Vue.use(BootstrapVue);
// Optionally install the BootstrapVue icon components plugin
Vue.use(IconsPlugin);
/*-----------------------------------------------------------------------*/

new Vue({
  router,
  render: (h) => h(App),
}).$mount("#app");
We have now bootstrap and we can start using it.
5. Additional tools
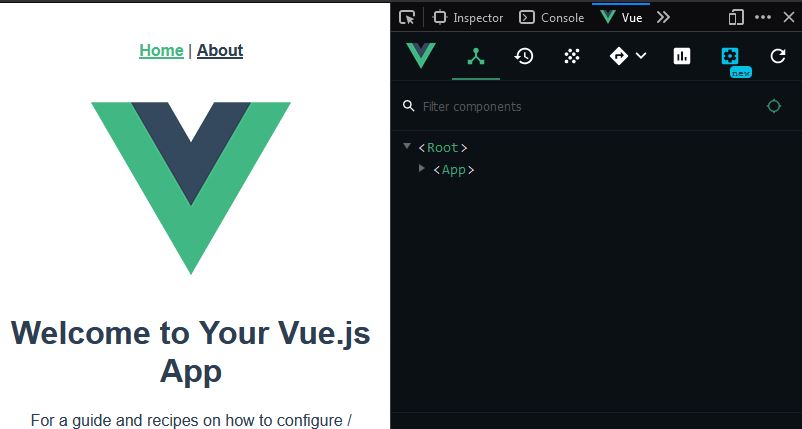
We recommend also installing the Vue Devtools in your browser, allowing you to inspect and debug your Vue applications in a more user-friendly interface.
Get the Chrome Extension
In VSC we recommend installing extension Vetur (by Pine Vu) for syntax highlighting, trust us, it’ll make your life much easier.
6. Vue Router
So how to implement Vue routing? When you use CLI, you should definitely use the option to set this up by default. But when you omit it or did not select it and now you want to implement it, you can by installing it additionally. @next will give us the latest version.
$npm i vue-router@next
+ [email protected]
added 1 package and audited 1435 packages in 9.141s
We should see the index.js inside the ‘router’ folder - CLI install would do it for us). There we can define the proxy routes which the app will take upon changes in URL. Right now we should have a default path ‘/’ and path ‘/about’.
7. Run Vue dev server
Now start the server to make it accessible locally again with:
$npm run serve
(Note: in the package.json under ‘scripts’ we can see or set actually our own commands)
Bootstrap-Vue Components
Now we have everything we need to write the code. In the public folder/index.html we can see that there is an element ‘app’ in which is injected our application.
In the src folder, go to main.js and we could see the entry point. App.vue is like the root component now.
Right now what we see on our page is coming from the component folder - the HelloWorld.vue file, this is essentially what is doing the content on the page, we don't need this for our purposes here.
Layout and Grid System
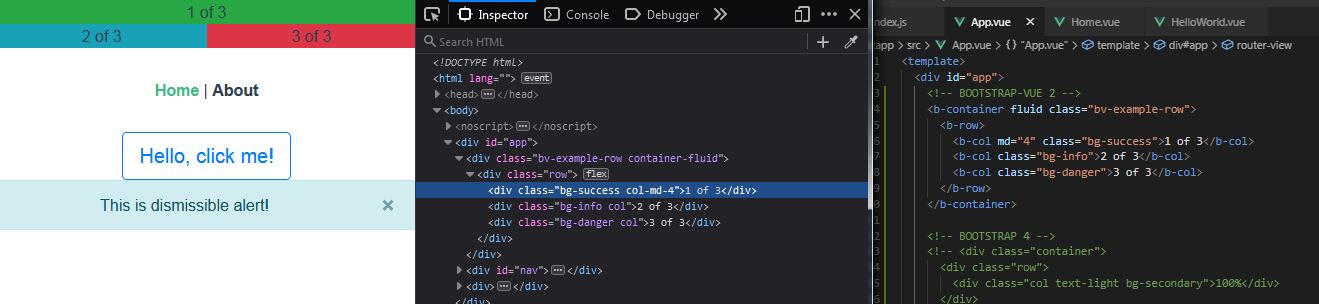
Let's do some bootstrap examples here, for example a grid system.
You can build layouts of all shapes and sizes thanks to a twelve column system with Bootstrap-Vue system or you can always use the default Bootstrap only. Fluid attribute makes the container 100% of width regardless of viewport breakpoint. Now this shows our current code in App.vue.
1 of 3 2 of 3 3 of 3
The md=”4” means that from the view size medium it will no longer take full width of 12 columns, but only 4 columns and the rest of the elements would be beside the first one, quite the same as in Bootstrap.
In the browser inspector we select a specific element and we can view its CSS classes under Filters Styles, there we can also add a new class for testing purposes.
Button
Now we create a simple button - we place it into Home.vue, and the exported component will show our button on the screen along with other components thanks to routing.
Hello, click me!
There are many components like these we showed above, check them out on Bootstrap-Vue Component page.
As a matter of fact, the documentation between Bootstrap-Vue and classic Bootstrap is stylized almost the same, everything is very familiar when you're used to Bootstrap.
Dismissible alert
Let’s do the button work to show the message on the screen. We go to Home.vue and we add a
Hello, click me! {{ name }}!
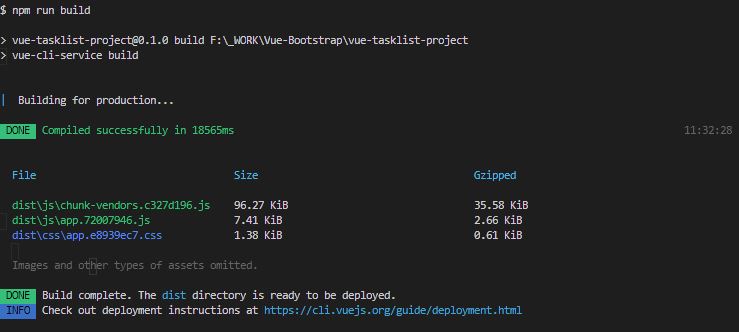
Deployment
The last chapter is about deployment of the Vue application.
Vue CLI generates the built files in the correct location, which will create a folder named ‘dist’ where all the distribution files would be - what you actually deploy to the production server.
$npm run build
To test the distribution version we can test it by running next commands to serve the dist folder.
$npm i -g serve

 $serve -s dist
Conclusion
Some say Bootstrap-Vue is a bloatware and they wont touch it even with a stick and on the other side we see download growth from github on the npm graph (2020-2021). It has pretty good documentation to explain everything.
In general, most of the libraries don't support Vue 3 yet, so I would suggest waiting a bit longer before using it until the ecosystem has caught up.
This concludes our today’s article, we hope that you like it.
Image by Tibor Kopca